IRIS TUTORIAL
Preprocessing of Digital SLR camera images
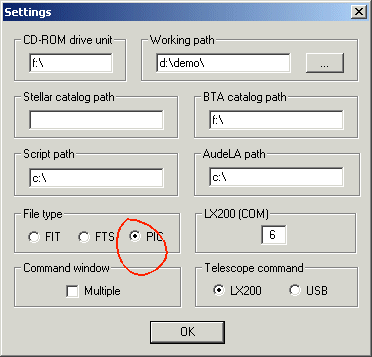
First, select the image file format: PIC or FIT (Iris support PIC ou FITS 48 bits colors images), Settings command of File menu:

Second, select the type of your DSLR camera.
Click this button of the tool bar ![]() ,
then
,
then
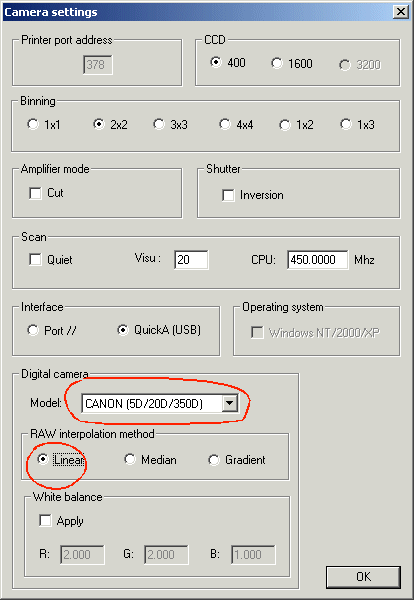
Choose the model (here the Canon EOS 5D/20D/350D familly). Select also the method used for develop RAW files. Choose the linear model preferably when you work on deep-sky images (minimization of artifact).
Decode a native RAW file
The RAW file format is the key for high quality processing of DSLR images (CR2 extension file for Canon 20D/350D, NEF extension for Nikon DSLR, etc).
An important operation is to decompress native DSLR RAW file toward a more readable format image (PIC format under Iris). The original CFA structure is conserved after the operation.
Method 1 - decode a native single file
Run the Load a Raw file command of File menu:
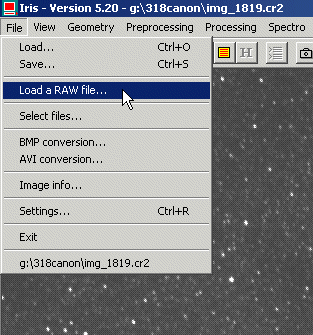
Select the desired file from the Open dialog box:
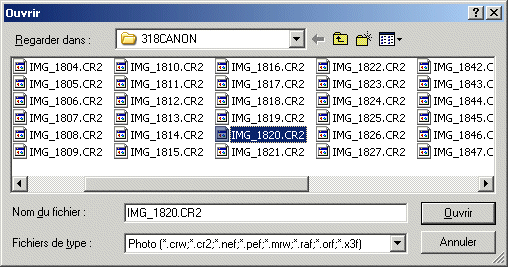
Click the Open button. The RAW file is decoded and stored in-memory. You can for example easily save this image in the form of PIC (or FITS) format file with the SAVE console command or from the File menu.
Method 2 - Convert a sequence of native RAW images
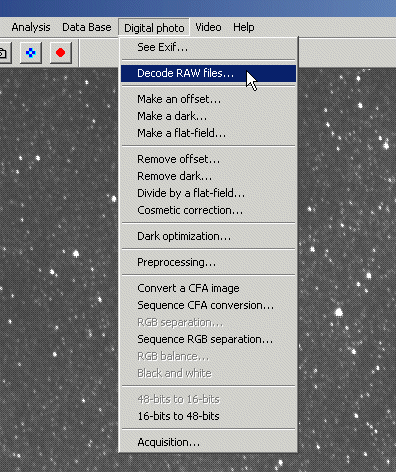
Run Decode RAW files command of Digital photo menu:
Close or reduce all the open windows, except this one:
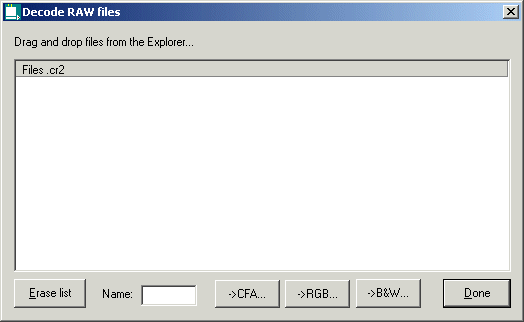
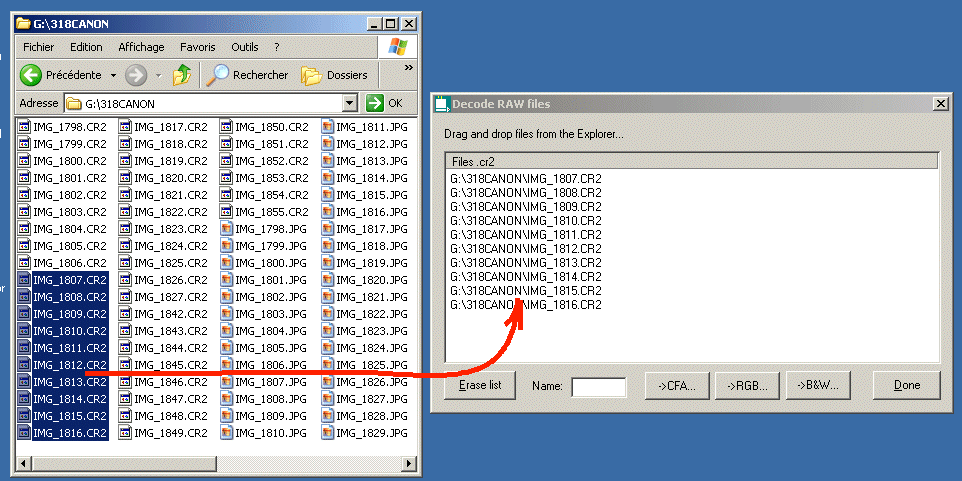
Choose a generic name for the decoded PIC format RAW files, then click CFA button. For example, if the selected files are offset frames, enter
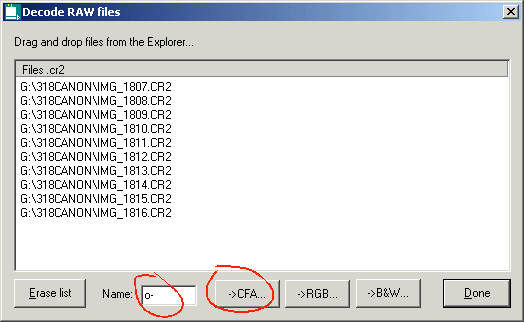
Iris creates in the working directory the files o-1.pic, o-2.pic, ..., o-10.pic. Click Done button for return to Iris standard window.
An enlarged portion of a decoded RAW images. We can see the typical CFA structure of the image, i.e. the succession of red, green and blue filters in front of pixels. It's for the moment a B&W images (16-bits), developed toward a true colors images in a second time:
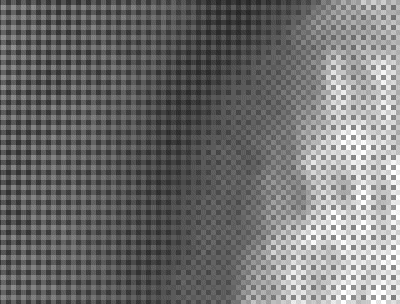
Enlarged
CFA structure (i.e. a Bayer matrix).
Create the master Offset image
The goal is to generate an offset reference image from a set of individual offset frames for reduce the noise. For details about calibration images click here.
Suppose the decoded sequence of RAW images o-1, o-2, ... o-10. Run the Make an offset command of Digital menu:
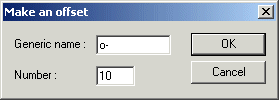
The software compute the median stack of the ten images. Save the result, for example
>SAVE OFFSET
Create the master Dark image
Suppose for example a dark sequence named n-1, n-1, n-2, ..., n7. Open the dialog box Make a dark (Digital photo menu), then
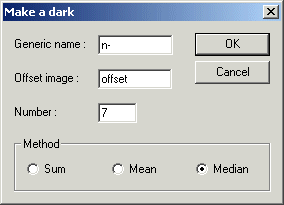
The dark image produced is pre-calibrated, i.e. the master dark frame in-memory after clicking OK has been corrected of bias (or offset) computed at the preceding stage. The median option for merge indivual frames is the better way for reject artefact like cosmic rays. Save the master
>SAVE DARK
Create the master Flat-field image
Consider the individual RAW flat-field f-1, f-2, ..., f-15. Run the Make a flat-field command of Digital photo menu:
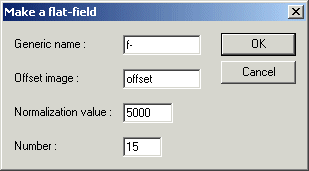
Normalization factor of 5000 is standard for process 12-bits RAW images (the quantification noise of the flat-field master is nearly negligible with this normalization value). So, here the median intensity of all the pixels of the calibration images is egal to 5000. Use the STAT command for control. If the intensity of some pixels are near the limit 32767 (STAT return this information), reduce the normalization value.
Note: Only offset is subtracted to the individual frames - no the dark - it is postulated that the exposure time usedd to make the darks individual frame is short (the thermal signal is considered very low).
Save the result
>SAVE FLAT
Create a pixel bad list
Make the list of the 50 to 200 hotest pixels of the master dark image (typical for a deep-sky images taken with modern Canon EOS). For exemple:
>LOAD DARK
>FIND_HOT COSME 200
Adjust the threshold parameters:
>FIND_HOT COSME 180
>FIND_HOT COSME
240
>....
At each try, Iris return the number of hot pixels found. The bad pixels list is here stored in the file cosme.lst.
Preprocessing
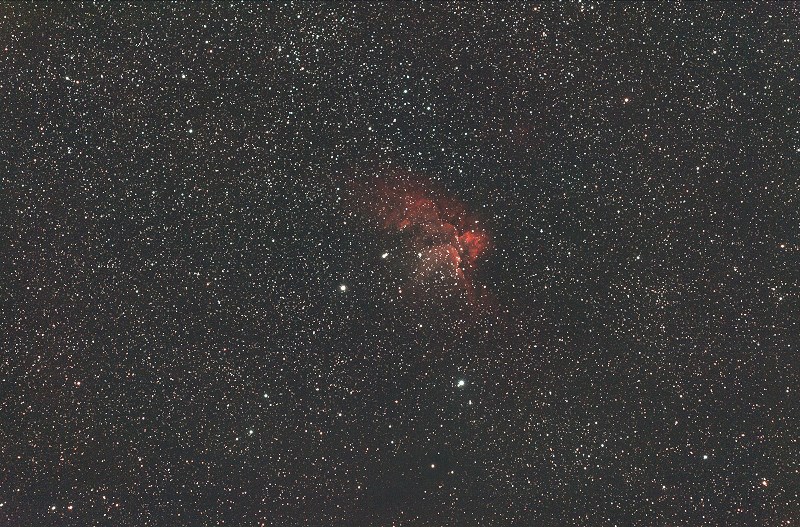
We make the preprocessing of 8 images of the field of nebula NGC 7380 (FSQ-106 refractor, 10 minutes exposure for each frame, ISO200, suburban condition). To verify the number of image in the sequence:>NUMBER N7380-
Open Preprocessing dialog box of Digital photo menu. Some fields are filled because you have run the command NUMBER as a preliminary:
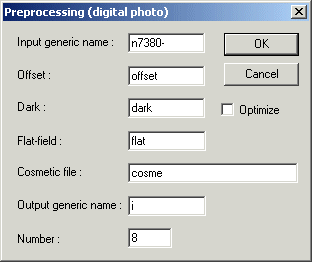
Note: you can optimize the dark map during the preprocessing phase, or in a separate step (for this run Dark optimization command of Digital Photo menu). Here, for simplify, we consider similar conditions between the science images and the dark images. For more details preprocessing procedures, click here.
The preprocessed images, in the working directory, are i1.pic, i2.pic, ..., i8.pic.
Convert CFA images to RGB images
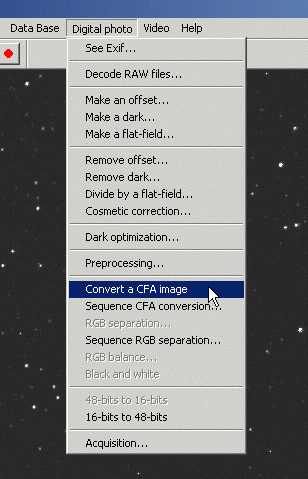
The remainder of the processing is realized with colors 48-bits images. The RAW images are transformed in the form of true colors images (16 bits per color planes). For this, the Bayer matrix (CFA structure) is "developed" for make the RGB channels.For convert a single RAW image use the command Convert a CFA image of the Digital photo menu:
|
|
|
For develop a sequence of RAW images toward a RGB sequence open the dialog box CFA filesconversion of Digital photo menu:
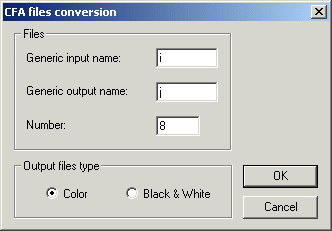
Here the sequence i1, ..., i8 RAW images is converted to j1, ..., j8 48-bits images. If the option B&W is selected the result is a sequence of 16-bits images (Iris compute the sum of R, G and B channels).
Align the images
For register the images, use the classical Stellar register command of Processing menu. For example:
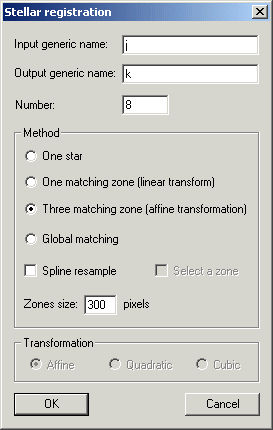
For details about registration operation, click here.
Stack a set of images
The best simple method:
>ADD2 K 8
If you want to normalize images when maximal intensity is over 32767, do
>ADD_NORM K 8
But you can also use all composite tools used for black and white images (Add a sequence from the Processing menu). Par example:
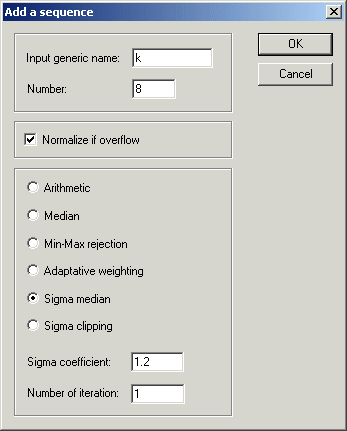
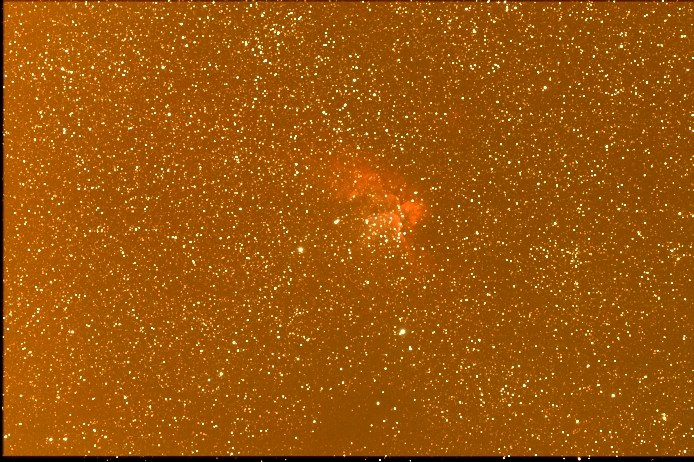
The result after stacking the set of images (reduced representation):
Remove the dark border
Run the WIN command from the console, and make two successive clicks:
>WIN
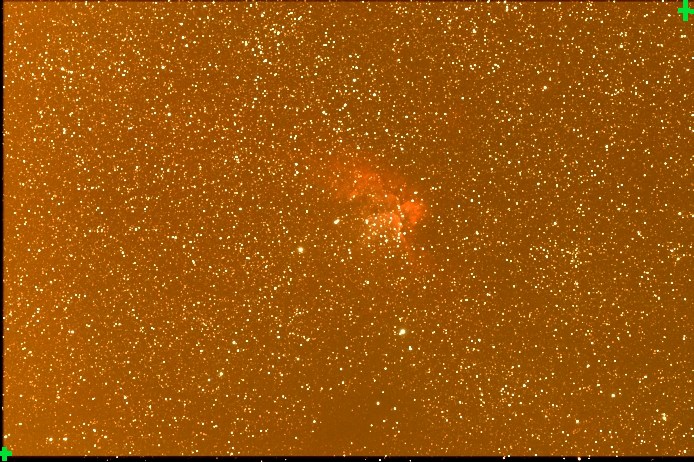
After cropping...
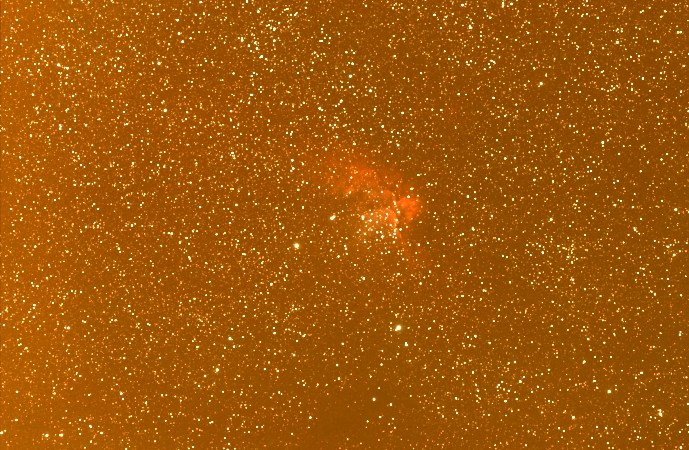
Make a dark sky
Select a zone relatively free of stars...
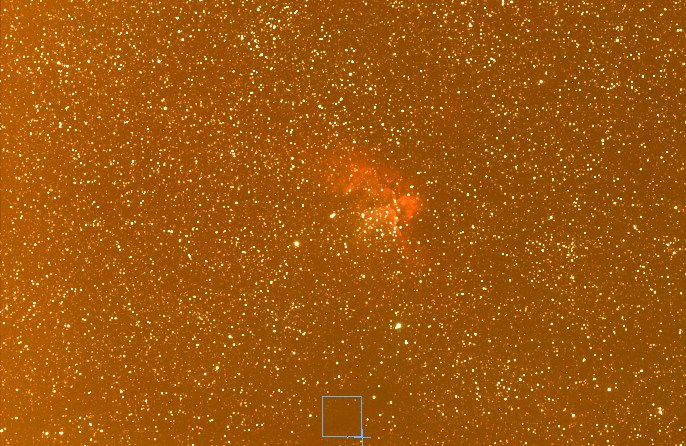
then, run the BLACK command (no parameters):
>BLACK
If necessary, add an offset to facilitate observation of the darkness part. For example:
>OFFSET 100
The result
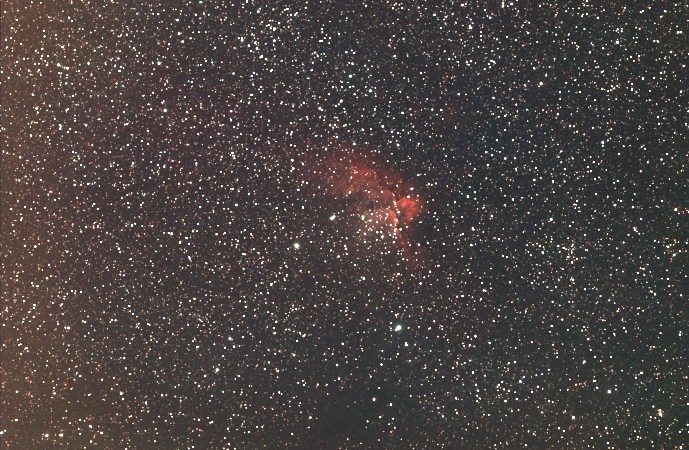
Adjust the color balance
Run the RGB balance command of Digital photo menu, and enter for example
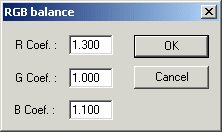
The red layer is multiplied by 1.3 and the blue layer is multipled by 1.1. If necessary (because offset is added at the latest operation), re-run the BLACK command:
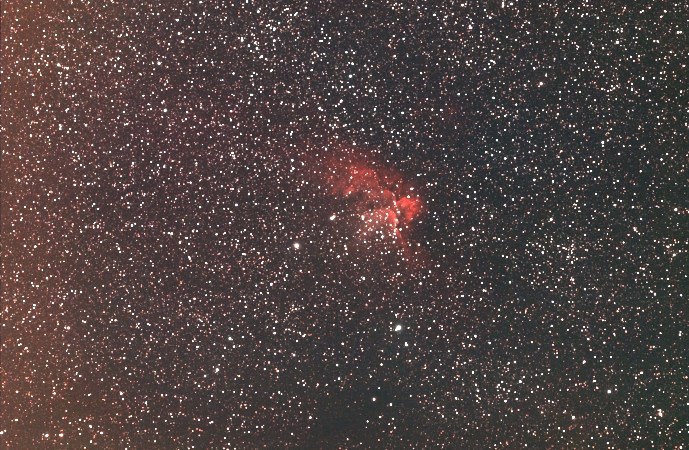
Tip: The WHITE2 commande harmonize the three layers of a color image (48-bits) by equalizing the intensity of the same star in these layers (multiplication by suitable coefficient). The program carries out a Gaussian adjustment of star. The selected star must be surrounded by a small rectangle before run the command. Select for example a solar type star (type G2V).
Flatness the sky background
Run the Remove gradient command of Processing menu:
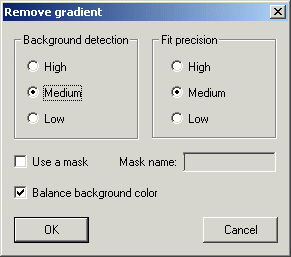
The result
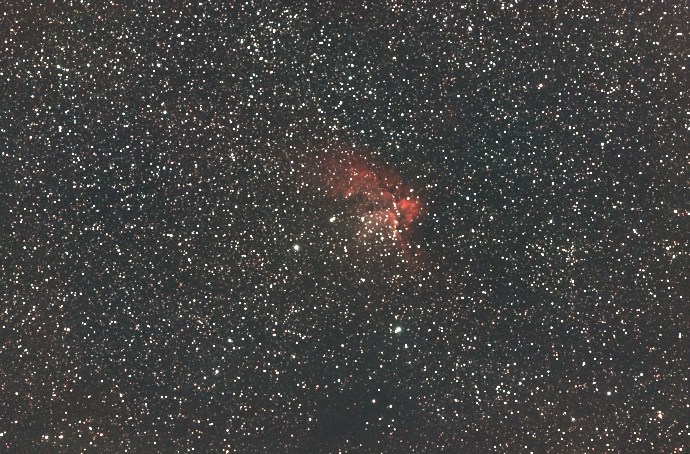
If necessary, compute a mask just above the background level (the BG command return the median sky background), Here the background level is of 500 ADU. Then
>BIN_DOWN 520
>SAVE MASK
The computed binary mask:

Recompute the gradient removal procedure by using the mask. Now the black zones of the mask are ignored during the evaluation of the synthetic sky background:
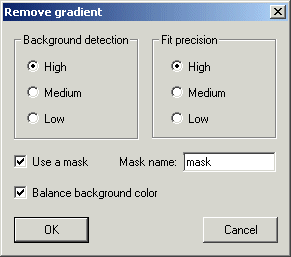
and the final result
Variations on the methods for uniformize the sky
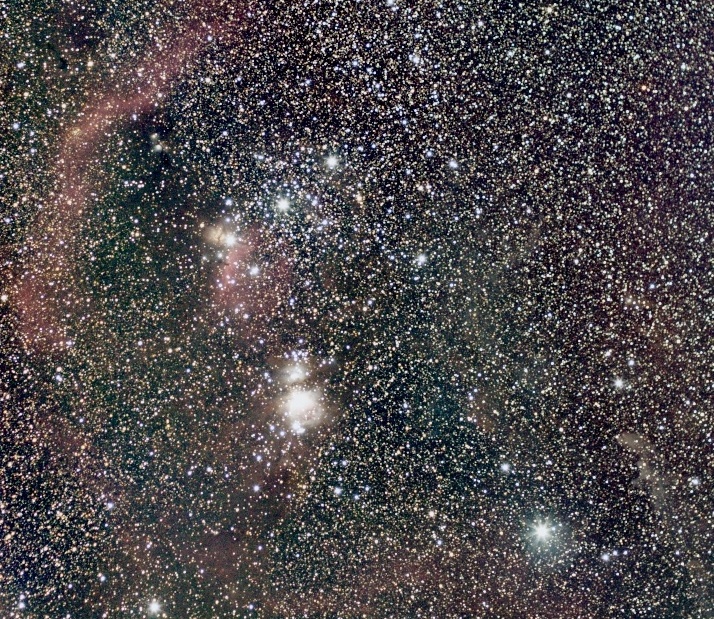
Consider this image of Orion constellation (50 mm lens stopped to f/2.8 - EOS350D - 18 x 4 minutes):
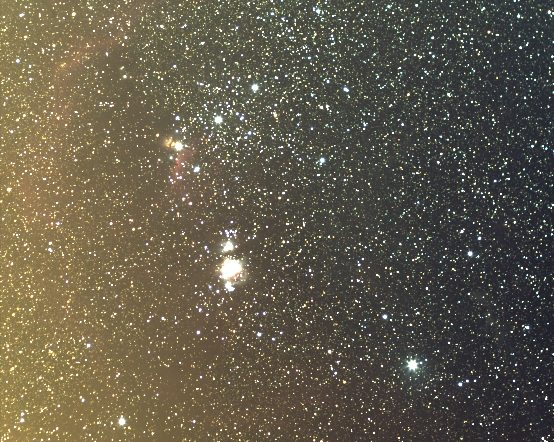
The non-uniformity of the sky is very severe!
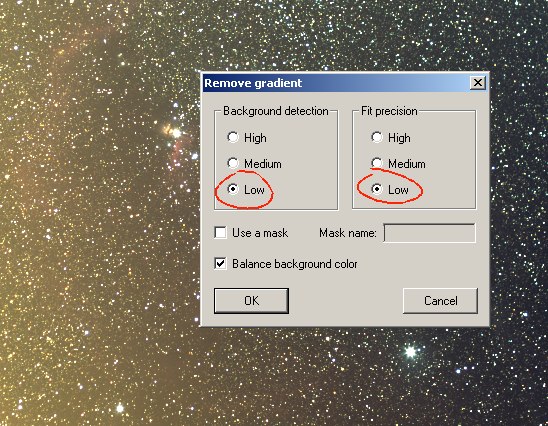
Execute a first step of the Gradient removal procedure with soft parameters:
The result
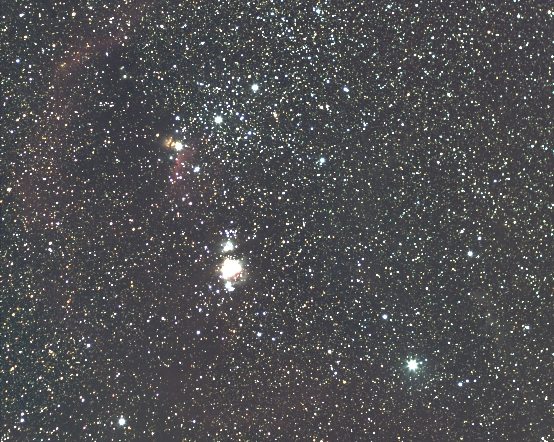
For a second step, you can run another Remove gradient procedure, but now, with a mask for isolate non-nebular region during computation. The ideal solution, because H-alpha emission dominate the image, is to construct the mask from the red channel of the 48-bits image. For separate the R, G, B layers into individual images (B&W 16-bits frames), run the command RGB separation of Digital photo menu, and enter for example
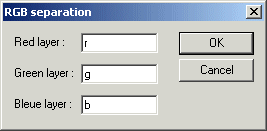
The command produce the images r.pic, g.pic and b.pic in the working directory. The console alternative command is
>SPLIT_RGB R G B
Load the red image (it is a 16 bits image):
>LOAD R
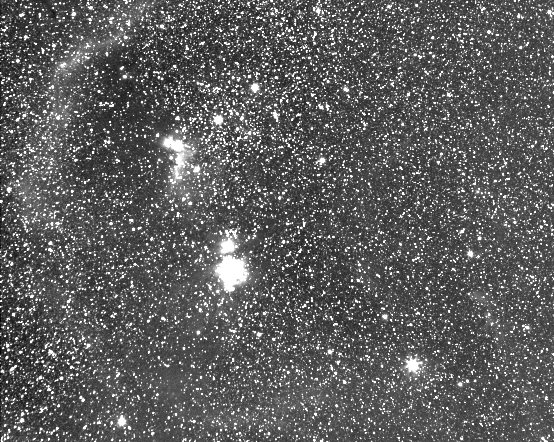
then (for example - try some values):
>BIN_DOWN 670
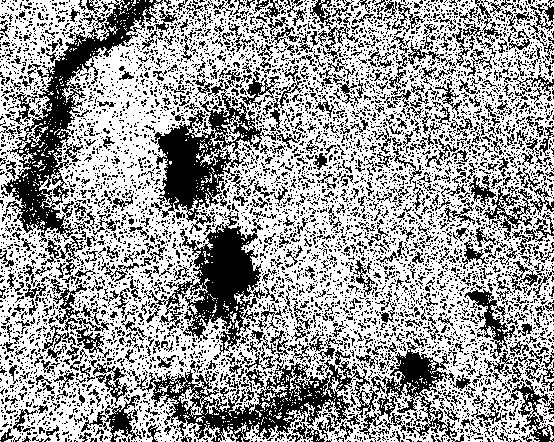
The selected threshold (here 670) is correct because the mask include a clear discrimination between nebulae (note the presence of Barnard's loop) and the sky background. Save the binary mask, for example:
>SAVE MASK
Load in memory the image to process (here the 48-bits true colors image of Orion) and run a new session of Remove gradient function
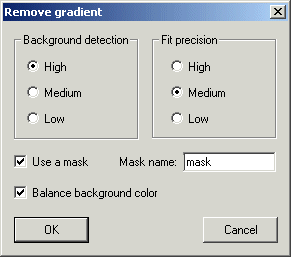
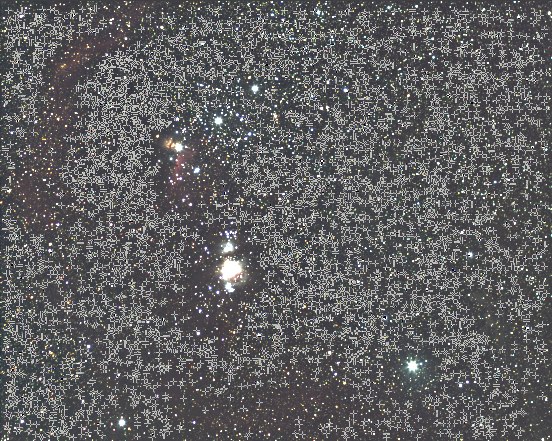
The nebulae parts of the image are not included in the sky evaluation. Act on the visualization threshold for display the result.
Tips: It is possible to modify or construct a binary mask manually. For example, on an existing image mask, define a rectangle around the part of the image to be masked, then run the command
>FILL_ELLIP 0
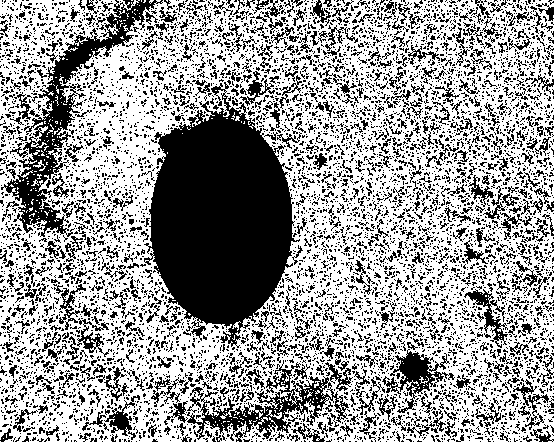
Iris draw an elliptic area. Of course, many elliptical zone can be defined in a given mask image.You can also use the FILL2 command for define a rectangular area, after mouse selection of a part of the images
>FILL2 0
For define a starting neutral mask, if for example the size of the images to process is 640x480 pixels (INFO command return this information), run from the console the sequence
>NEW 640 480
>FILL
255
The final result (after a logarithm stretching - Logarithm command of View menu):
